Email:
info@iborescope.com
Automotive Engine Turbine Visual Inspection
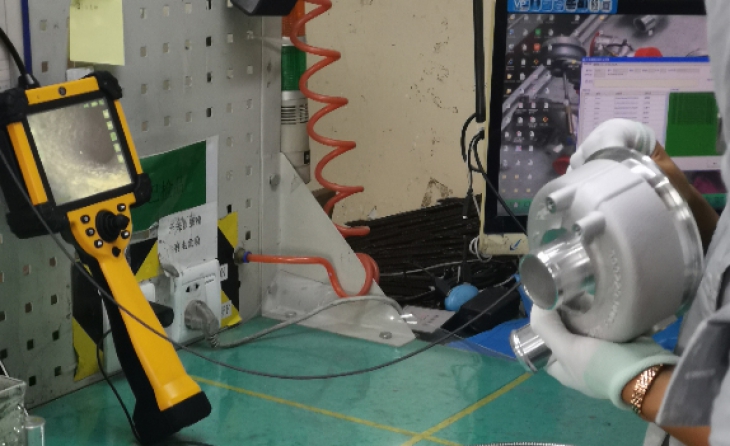
The factory is specialized in the production of automotive engine parts. It has more than 20 years of experience in the production of automotive precision parts industry. It mainly produces automotive turbochargers, which are one of the important parts inside the engine. Drive the coaxial impeller to rotate at high speed to improve the combustion efficiency of the engine. Once the turbine has defects, cracks or pinholes, oil leakage will occur, fuel consumption will increase, and the bearing impeller will be out of balance.
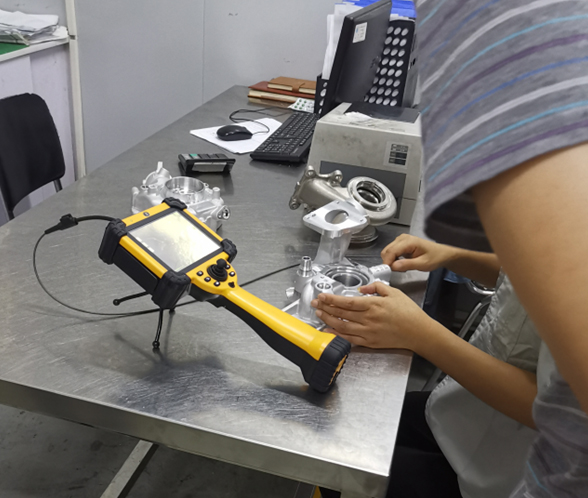
Therefore, we understand customer demands:
The definition requirements of industrial borescopes are high, and the requirements are not less than megapixels.
It needs to have custom naming and marking functions, because it needs to take a large number of photos and videos, shoot different locations, and automatically record, edit and archive.
Actual testing conditions:
The customer mainly inspects the turbine parts of the automobile engine. The diameter of the runner is about 3mm-5mm, and there are two internal curved channels. The observation needs to turn a circle to see the inner wall of the runner, and the diameter of the inlet of the runner wall is about 6mm.
Three, detection difficulties:
The flow channel needs to be turned 360° to see the whole circle, and the frequency is relatively high, and the wear on the front end of the lens of the equipment will be relatively large, which will increase the cost and the service life of the equipment.
Solutions and options:
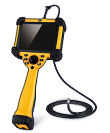
1. Through the industrial borescope BY series equipment with 1 million high-definition pixels, it can meet the 360 ° inspection inside the exchange channel, and can intuitively and clearly judge whether the observation is qualified or not, and the photos, videos, archives, pictures and videos are clear. Built-in 64G solid state hard drive to prevent data loss, with 2 USB ports, VGA video output point-to-point.
2. It is recommended to use an borescope with a diameter of 2.8mm to detect the defects inside the flow channel. The borescope can be inserted into the cavity to realize 360-degree real-time guidance. It has its own built-in lighting source. The inspector can observe the internal image through the liquid crystal display. In the case of dismantling and destroying the inside of the cavity, the condition inside the cavity can be observed through an industrial borescope, and photos or videos of the defective parts in question can be taken.
3. Due to the back-and-forth detection of the inner wall, the service life of the lens will be rubbed. Our company adopts a thickened alloy lens cover. In order to reduce the degree of wear of the lens and increase the service life, customers have relatively high requirements for their own product quality. In order to ensure product technology and market The supply demand strictly controls the quality, and the interior can be clearly seen through the endoscopic equipment.

